
How to Replace Mailbox Lock Without Guesswork
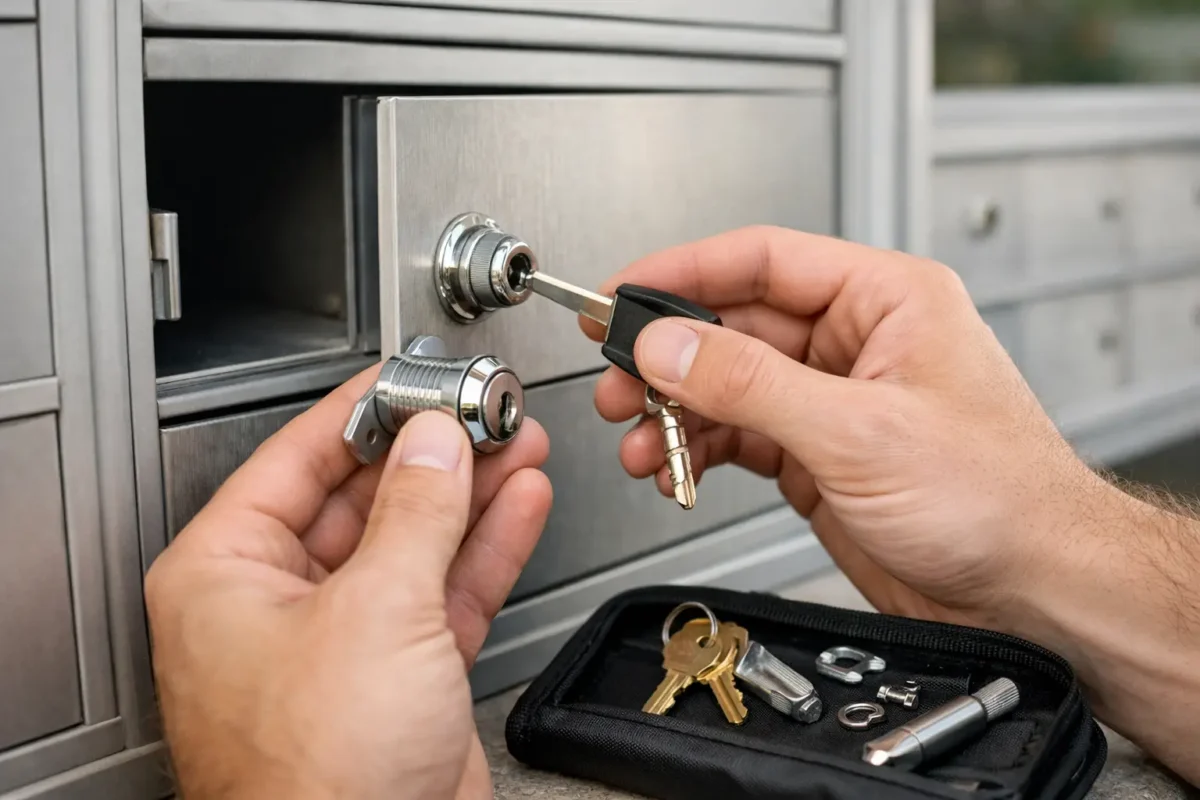
A mailbox lock problem is more than an inconvenience when bills, prescriptions, legal notices, or business mail are sitting behind a door you cannot open. If you are searching for how to replace mailbox lock hardware, start by identifying who owns the mailbox. That one detail determines whether this is a straightforward repair or a job that should be handled through your property manager, postal service, or locksmith.
First, determine what kind of mailbox you have
Not every mailbox lock is yours to replace. A privately owned curbside mailbox at a house is usually the simplest situation. If the mailbox and post belong to you, you can generally replace a worn or damaged lock yourself with the correct replacement hardware.
Apartment mailboxes, condominium mailbox banks, cluster box units, and community mail centers are different. These may be owned by the landlord, homeowners association, property management company, or USPS. Replacing a lock without authorization can create problems with mail delivery, damage shared equipment, or leave you responsible for repairs.
If you rent, contact your landlord or property manager before buying a new lock. If you have a shared mailbox unit with a USPS parcel locker or outgoing-mail section, ask the local post office who is responsible for the lock. Postal carriers have access to specific compartments, and their hardware should never be altered.
A damaged private mailbox can also be a sign of attempted mail theft. Before replacing the lock, check the door, hinges, cam, and surrounding metal for bending or loose fasteners. A new lock will not do much good if the door no longer closes securely.
What you need to replace a mailbox lock
Most residential mailbox doors use a basic cam lock. The lock cylinder sits in the door, while a flat metal piece called a cam turns behind the door to hold it shut. The replacement has to match the door thickness and the shape, length, and rotation of the old cam.
Before removing anything, take clear photos of the inside and outside of the mailbox door. Measure the diameter of the lock opening and the length of the lock cylinder. Also note whether the cam turns clockwise or counterclockwise to lock. These small details prevent the common mistake of buying a lock that fits the hole but cannot secure the door.
For a typical private mailbox lock replacement, gather the following:
- A replacement cam lock with keys
- A screwdriver or nut driver that fits the retaining hardware
- Needle-nose pliers, if the retaining clip is tight
- A measuring tape or ruler
- A small container for screws, clips, and the old cam
Keep the new keys separate from the mailbox while you work. It is a simple precaution that helps prevent a key from being misplaced inside the box.
How to replace mailbox lock hardware step by step
Open the mailbox and inspect the old lock
You need access to the inside of the mailbox door to remove a standard cam lock. If you still have a working key, open the door and look at the rear of the lock. You should see the cam attached to the back of the cylinder, held in place by a small screw, nut, or retaining clip.
Do not force a key that is bent, cracked, or difficult to turn. A broken key can turn a basic lock replacement into a more involved service call. If the mailbox is already open, work carefully and leave the door supported so it does not bend on its hinges.
Remove the cam and retaining hardware
Start by taking a photo of the cam’s position. This gives you a reference when installing the new lock. Remove the screw or nut that holds the cam in place, then set the cam and hardware aside.
Behind the cam, there may be a flat washer, threaded nut, or spring-style retaining clip. Remove it with the appropriate tool. Avoid prying aggressively against thin mailbox metal. Many mailbox doors bend easily, and a bent door may not line up with the new lock.
Once the retaining hardware is off, pull the old lock cylinder out through the front of the door. If it resists, check again for a hidden clip, washer, or nut. Forcing it can enlarge the lock opening or scratch the finish.
Match and install the replacement lock
Compare the new lock to the old one before installation. The cylinder length should be close enough that the lock sits flush against the door without excessive movement. The cam should reach the mailbox frame or strike point when turned, but it should not drag or hit the door edge.
Insert the new cylinder from the outside of the mailbox door. From the inside, install the washer, clip, or nut that came with the new lock. Tighten it until the cylinder is secure, but do not overtighten. Excess pressure can distort a lightweight metal door and make the key hard to turn.
Attach the cam in the same direction as the original. If the new lock includes several cams, choose the one that most closely matches the old piece. A longer cam is not automatically better. If it extends too far, the door may not close or the lock may bind.
Test it before closing the door
With the mailbox door still open, turn the key several times and watch the cam move. It should rotate freely and return to the proper locked position. Then gently close the door and test the lock again.
Confirm that the door stays shut when locked and opens normally with the new key. Test every key included with the replacement lock. Once the door is closed, you do not want to discover that a poorly aligned cam is preventing access.
Common problems after replacing a mailbox lock
The most common issue is a cam installed in the wrong position. The key may turn, but the cam misses the frame or points the wrong direction. Remove the cam, rotate it as needed, and test it with the door open before trying again.
Another issue is a cylinder that is too long or too short for the mailbox door. A lock that sticks out too far can wobble and eventually loosen. A cylinder that is too short may not accept the retaining hardware correctly. When the measurements do not match, return the lock rather than trying to improvise with extra washers or altered parts.
A mailbox door that will not stay closed may have a damaged latch area, warped door, or loose hinge. In that case, replacing only the cylinder will not restore security. The mailbox may need door repair or replacement in addition to a new lock.
If your old key is lost and the mailbox is locked, avoid drilling or prying the door yourself. Those methods can damage the mailbox body, create sharp edges, and cost more to correct later. A locksmith can assess the lock and mailbox condition, then provide the right service without unnecessary damage.
When to call a mailbox locksmith
A professional locksmith is the practical choice when you cannot open the mailbox, the lock is seized, a key broke inside, or the mailbox is part of a shared residential or commercial unit. It also makes sense to call for help when you are unsure whether the box is privately owned or managed by USPS, an HOA, or a landlord.
Property managers and business owners may need multiple mailbox locks changed at once, especially after tenant turnover or a lost master key situation. Matching locks, key control, and properly fitted cams matter more in these cases than simply putting a new cylinder in a door.
For homeowners, renters, and property managers in Aurora, Federal Heights, Denver, and nearby communities, BS Locksmith can handle mailbox lock service on site when the job calls for professional help. The goal is simple: restore access, protect your mail, and make sure the door secures correctly.
A properly fitted mailbox lock should turn smoothly, hold the door firmly, and give you confidence that your personal mail is protected. If anything about the ownership, fit, or condition of the mailbox is unclear, pause before forcing a repair and get the right help for the box in front of you.